How to Remove a Headlight Assembly at a Junkyard
Headlight assemblies are cheap at a self-service yard and expensive new, but the hidden bolt behind the bumper cover trips up most first-timers. This is how to get one out intact.

Key Takeaways
- Plan on 20 minutes to over an hour. Whether the bumper cover has to come off decides the time.
- Match the lighting type (halogen, HID, or LED), the side, and any adaptive or leveling features. Trim levels of the same model often use different assemblies.
- HID systems produce high voltage. GM service information says to disconnect the battery negative cable before working near them and never to open the ballast.
- Test the lamp by plugging it in before you install it, then check headlight aim once it is on your car.
Removing a headlight assembly at a self-service junkyard takes 20 minutes to over an hour. Older cars use a few bolts across the top of the housing. Many newer cars hide at least one fastener behind the bumper cover corner or fender liner, so you release clips and pull the cover outward before the lamp slides free. Disconnect the battery first, especially on HID cars.
Which headlight assembly fits your car?
Match the lighting type and trim first. A single model year can offer halogen reflector lamps on base trims, projector or HID lamps on upper trims, and LED units on top trims, and the housings, mounting points, and connectors usually differ. Some assemblies also carry leveling motors or adaptive swivel motors that need matching wiring in your car.
Check the donor's trim against yours, count the pins in the main connector, and look for a part number on the back of the housing. Running both VINs through our VIN lookup tool confirms trim and build. The federal lighting standard, FMVSS No. 108, requires replacement lamps to meet the photometric and other requirements for the vehicle they go on, so the simplest legal path is the same lamp your car came with.
How to tell halogen, HID, and LED apart at the car
Look at the back of the housing and the bulb, not the lens. An HID lamp has a ballast, usually a small metal or plastic box on or near the housing, and a bulb with a D-series code. Osram lists D1S, D1R, D2S, D2R, D3S, D3R, D4S, and D4R as common HID bulb types. A halogen lamp uses a twist-in bulb with a single plug and no ballast. An LED assembly often has a finned heat sink on the back and may have no separate replaceable low-beam bulb at all. If the back of the housing has a small motor or extra connector, the lamp likely has leveling or adaptive features, and your car needs the matching wiring.
Driver and passenger assemblies are mirror images and are not interchangeable. If you need both, pull both from the same car so the lens color and age match.
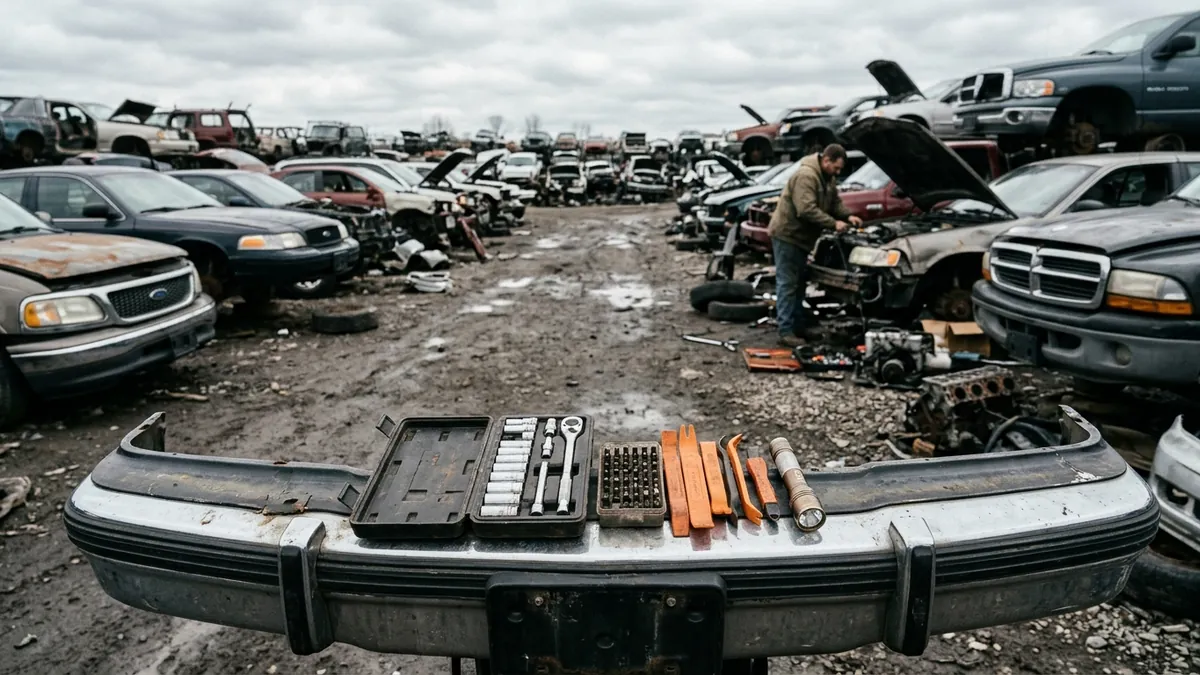
What tools do you need to remove a headlight?
A headlight pull is mostly small fasteners and plastic clips. Bring hand and battery-powered tools only; self-service yards such as Carolina Pick-N-Pull ban grinders, torches, jacks, and gas-powered tools.
| Tool | What it does on this job |
|---|---|
| Small metric socket set with 1/4-inch drive | Headlight mounting bolts and bumper cover bolts |
| Extensions and a wobble or universal joint | Reaching the lower bolt behind the bumper corner |
| Torx bit set | Fender liner and bumper screws on many makes |
| Plastic trim and clip removal tools | Push pins on the radiator cover, fender liner, and bumper |
| Flat screwdriver, small | Releasing connector locking tabs |
| Painter's tape | Protects paint and lens edges as the bumper corner flexes |
| Work gloves and safety glasses | Broken lens plastic, sharp sheet metal, and springy clips |
| Moving blanket or towel | Keeps the lens from scratching on the way home |
See our salvage yard tool list for the rest of a general kit.
Headlight safety notes: HID voltage and broken lenses
HID (xenon) headlights are the main hazard on this job. A GM service bulletin warns that the high intensity discharge system produces high voltage and current, and that the battery negative cable must be disconnected any time work is done on or around it. The same bulletin says never to open the HID ballast or the arc tube starter and never to probe between the ballast output connector and the bulb.
So pull the negative cable on any donor that still has a battery, whatever the lamp type. Unplug the ballast and igniter and carry them out as sealed units; don't open either one. Keep your fingers off the bulb glass, too. Osram's HID replacement guidance says not to touch it, to wear gloves and goggles, and never to use a bulb with cracked glass.
Gloves and safety glasses make sense on any headlight pull. OSHA's hand and power tools guidance calls for appropriate personal protective equipment such as safety goggles and gloves when hazards are present, and cracked polycarbonate lenses and bumper clips both break with sharp edges.
How to remove a headlight assembly, step by step
Look behind the bumper cover and under the hood before you remove anything, so you know where every fastener is.
- Confirm the match. Check lighting type, side, trim, and connector pin count against your car.
- Disconnect the negative battery cable if a battery is present.
- Open the hood and remove the top fasteners. Remove the radiator cover or upper trim panel if it covers the headlight bolts, then remove the bolts across the top of the housing.
- Release the bumper cover corner if needed. Remove the fender liner screws or push pins near the bumper, then the screws or bolts that join the bumper cover to the fender. Tape the paint edge and gently pull the bumper corner outward. You usually do not need to remove the whole cover.
- Remove the hidden lower bolt. Reach it through the gap with an extension and a wobble or universal joint. Some cars hide a bolt in the wheel well side instead.
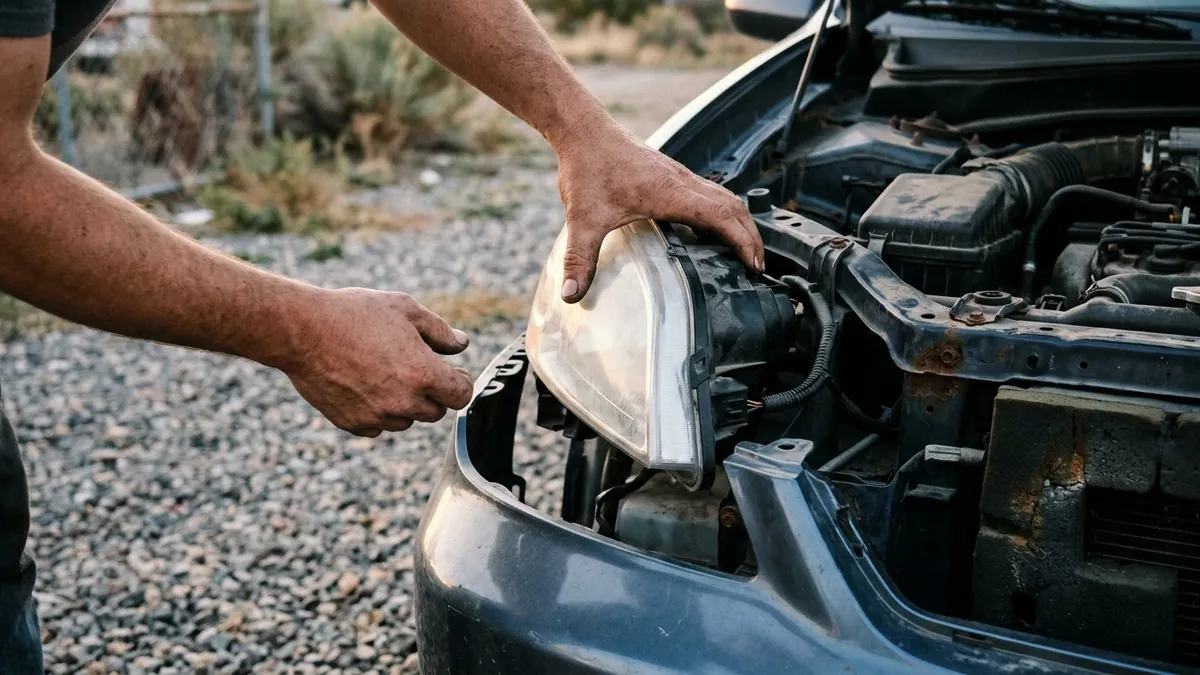
- Unplug the connectors. Ease the assembly forward a little and press the locking tab on each connector, including the HID ballast plug and any leveling or turn signal plugs. Do not pull on wires.
- Slide the assembly out. Guide it forward and out without twisting against the bumper or fender, which is where mounting tabs snap.
- Collect the extras. Take the bulbs, the ballast if it is separate, any bracket or bezel, the mounting bolts, and the pigtail connectors if you can cut them with a short length of wire.
- Protect the lens. Wrap the assembly in a towel or blanket before you carry it to the checkout.
How long it takes and what goes wrong
Times below are typical for a first attempt on a car with a partial bumper-corner release.
| Step | Time | Common mistake |
|---|---|---|
| Confirm lighting type and trim | 5 min | Pulling an HID lamp for a halogen car |
| Top fasteners and trim | 5-10 min | Snapping push pins instead of using a clip tool |
| Bumper corner release | 10-30 min | Yanking the cover before every screw is out |
| Hidden lower bolt | 5-15 min | Missing it and breaking the lower mounting tab |
| Unplug connectors | 3-5 min | Prying the connector body and cracking the latch |
| Slide out and pack | 5 min | Leaving the bulbs and ballast in the car |
How to check and test a used headlight
Inspect it at the car, then confirm it lights before you install it.
- Check every mounting tab. A broken tab means the lamp will vibrate and the aim will drift.
- Light haze on the outside of the lens polishes out. Cracks, chips that go through, and haze on the inside don't.
- Water droplets, a fog film, or tide lines inside mean the seal has failed. Pass on that one.
- Look for green corrosion on the connector pins and make sure the aim adjusters turn.
- Plug it into your car before you bolt it in and check low beam, high beam, turn signal, and running lights. After installation, follow your owner's manual for headlight aim.
If the bumper cover on your own car is damaged too, our used body panels buying guide covers what to look for. For tests on other used auto parts, see how to test used parts before installing them.
How to find a yard with your model
Search our directory for a U-pull yard near you, or start from a state page such as Florida junkyards. Salvage yards with online inventory save you a wasted trip. If you are new to self-service yards, read how to pull your own parts at a junkyard before you go. Pull-A-Part, for example, requires visitors to be at least 16 and to sign a waiver, and its FAQ says most parts carry a 30-day warranty with a receipt as of October 2026. Policies vary by chain, so ask at the counter.
When you find the donor, look behind the bumper corner first. Find the hidden bolt early and a frustrating hour becomes a 20-minute job.
Sources
- General Motors (via NHTSA): Service Bulletin 14-08-42-001, Headlamp Inoperative or Intermittent (accessed October 2026)
- Osram: Tech Tips: Safely Replacing HID Bulbs (accessed October 2026)
- Federal Register (NHTSA): FMVSS; Replacement Lamps, Reflective Devices, and Associated Equipment (accessed October 2026)
- OSHA: Hand and Power Tools (OSHA 3080) (accessed October 2026)
- Carolina Pick-N-Pull: How It Works (accessed October 2026)
- Pull-A-Part: Frequently Asked Questions (accessed October 2026)