How to Remove an Alternator at a Junkyard: Full Step-by-Step
An alternator is one of the easiest wins on a self-service lot, as long as you get the belt tensioner and the engine code right. Here is the whole job, start to finish.
Key Takeaways
- Plan on 30 to 60 minutes for a first-timer. Belt tensioner access decides which end of that range you land on.
- Digit 8 of the VIN is the engine code on most domestic and Asian vehicles. The same model year can carry two accessory drives, so read it before you unbolt anything.
- A socket set from 8mm to 19mm covers roughly 90% of the fasteners on this job.
- Photograph the belt routing before you release tension. That one 10-second photo is the step people regret skipping.
What pulling an alternator at a salvage yard involves
Removing an alternator at a self-service junkyard takes 30 to 60 minutes the first time. The whole job is one belt, two or three mounting bolts, and two electrical connections. Entry runs $2-$5 in 2026 and used OEM parts typically sell for 20-50% of new dealer price. Alternators are also one of the most commonly stocked parts on a self-service lot, so finding a donor is rarely the hard part.
Belt tensioner access is what decides the job. On an inline four with the alternator mounted high on the passenger side, you are done in 20 minutes. On a transverse V6 with the alternator hung low behind the front subframe, you can burn 40 minutes before the belt even comes off.
Confirm the donor is the right car before you start
Read digit 8 of the donor VIN and match it against your own car before a single bolt moves. On most domestic and Asian vehicles that digit is the engine code, and the same model year of the same nameplate can leave the factory with two engines and two alternators that share no bracket, pulley offset, or connector.
Amperage is the second check. A base car and one with a tow package often run different output alternators on the same engine, and the rating is stamped on the case. Higher amperage into a lower-amperage application is fine; the reverse leaves you dim lights at idle. Our VIN lookup tool decodes a donor VIN, and the Hollander interchange guide covers how yards catalog which alternators cross to which applications.
Tools you need
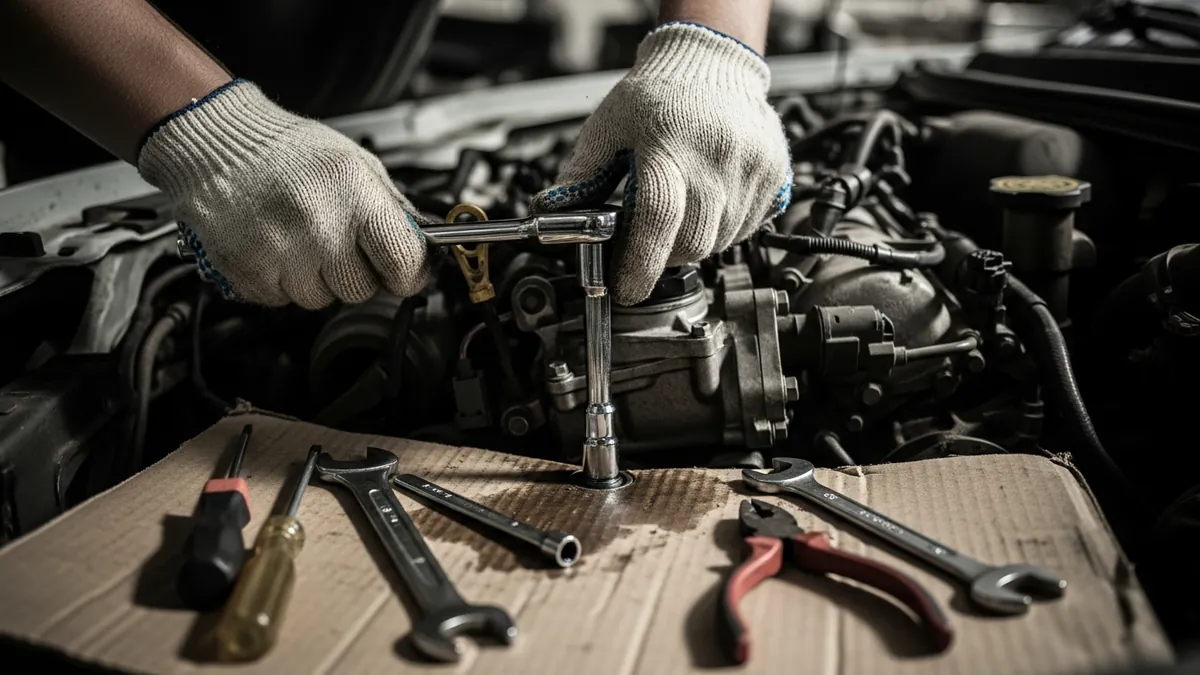
Five things cover this job. A socket set spanning 8mm to 19mm handles about 90% of the fasteners you will touch, a 3/8-inch ratchet with a 6-inch extension gets past brackets, and a breaker bar gives leverage a ratchet handle will not. Add penetrating oil and a serpentine belt tool if you own one; a long breaker bar substitutes on most tensioners. Bring a headlamp and a charged phone for the routing photo. For a fuller kit list, see our guide on pulling your own parts at a junkyard.
How to remove an alternator: step by step
Run these in order. The two steps people skip are the penetrating oil and the routing photo, and both cost more time than they save.
- Confirm the engine code and amperage. Read digit 8 of the donor VIN, match it to your car, and check the amperage stamped on the case. Do this before you open a toolbox.
- Spray penetrating oil on the mounting bolts and wait 10 minutes. Hit the bolt heads, the threads where they exit the bracket, and the tensioner pivot, then go look at the next row. Penetrant that has soaked 10 minutes breaks bolts a fresh spray will not.
- Disconnect the negative battery terminal. If the donor still has a battery, pull the negative cable and tuck it aside. The B+ stud is fed straight from battery positive and stays live with the engine dead. A socket bridging that stud to a grounded bracket will arc, weld itself, and burn you.
- Photograph the belt routing. Take two shots from different angles with the belt still under tension, wide enough to catch every pulley and the tensioner. This is the step people regret skipping. Once the belt is off the routing is not obvious, and the underhood sticker is gone or sun-bleached on most yard cars.
- Release the belt tensioner. Put the belt tool or breaker bar on the square drive or hex boss of the tensioner arm, rotate against spring pressure, and slip the belt off the alternator pulley. Let the arm down slowly. Snapping it back cracks tensioners and pinches fingers.
- Break the mounting bolts loose, but leave them threaded. Most use two or three bolts with 12mm to 15mm heads. Crack each loose with the breaker bar while the unit is still held by its bracket. Fighting a stuck bolt on a part already swinging free is miserable.
- Free the electrical connections. Remove the nut on the B+ stud, usually 10mm or 13mm, and lift the heavy cable off. Then release the field or sense plug; nearly all have a tab you press or a wire clip you lift with a small screwdriver. Do not pry the plug body with a socket.
- Remove the bolts and lift the alternator out. Support it with one hand as the last bolt comes out. A typical alternator weighs 10 to 15 pounds and is heavier on the pulley end than it looks. Rotate it to clear the bracket instead of forcing it straight up.
- Take the mounting hardware with you. Grab every bolt, any spacers or sleeves, the B+ stud nut, and the terminal boot. Yard bolts are free. Sourcing an odd-length metric bolt on a Sunday is not.
Lifting warning. If the alternator sits low and you need to get under the car, use rated jack stands only, never a jack alone. Most self-service yards ban customer jacks and pre-lift their vehicles. If a car is not already up and you cannot reach the part from above, pick another donor.
Time and common mistakes at each step
Here is where the clock goes and what goes wrong.
| Step | Time | Common mistake |
|---|---|---|
| Confirm engine code and amperage | 5 min | Matching on model year when that year carries two accessory drives |
| Penetrating oil and soak | 10 min | Turning the wrench immediately, then rounding the head |
| Disconnect negative terminal | 2 min | Skipping it because the engine is dead, then shorting B+ |
| Photograph belt routing | 1 min | One blurry close-up that misses the tensioner wrap |
| Release tensioner, slip belt off | 5-20 min | Letting the arm snap back, cracking it and pinching fingers |
| Break mounting bolts loose | 5-10 min | Using a ratchet handle on a rusted bolt |
| Free electrical connections | 3 min | Prying the field plug and snapping the locking tab |
| Remove bolts and lift out | 3 min | Not supporting it, so it drops onto the radiator |
| Collect mounting hardware | 2 min | Leaving the spacer sleeve and stud nut behind |
How to test a used alternator before you install it
Test the unit in the yard before you pay, then bench test it before it goes in your car. It is the same discipline as inspecting a used engine before you buy it, only faster. Four checks take two minutes.
- Spin the pulley by hand — a healthy pulley turns with slight magnetic resistance and rotates smoothly. Grinding means the bearings are shot, and a rough catch every revolution is the same verdict. Visible wobble means a bent shaft. Walk away.
- Rock the pulley side to side — grip the outer edge and push and pull perpendicular to the shaft. You should feel nothing. Any perceptible play is bearing wear, and a bearing loose on the bench will scream at 2,000 rpm in your car.
- Look inside the connector — green or white crust on the pins means water has been sitting in that plug, and corrosion in a small-gauge sense circuit causes charging faults that read as a bad alternator after install. Clean gray pins are fine.
- Get a free bench test — chain parts stores test alternators on the counter at no charge. Bring it in before it goes on the car. The bench gives you a real output figure and a pass or fail, which hand-spinning never will.
What you should expect to pay
Self-service pricing runs 30-60% below full-service for the same alternator, on top of the $2-$5 gate fee. Some yards add a core charge of $5 to $100, refunded when you hand over your old unit. Full-service costs more but warranties parts 30 to 90 days, and LKQ offers 6 months.
Cars are typically crushed after 30 to 90 days on a self-service lot, so a donor you spotted last month may be gone. Check our junkyard directory before you drive, and our guide on buying used auto parts covers what to negotiate on price.