How to Pull Your Own Parts at a Junkyard: A Complete First-Timer Walkthrough
Never pulled a part yourself? Here is exactly how a self-service junkyard trip works, from the phone call the night before to the bench test at home.
Key Takeaways
- Entry costs $2-$5 and pulling the part yourself saves 30-60% against a full-service yard.
- A socket set covering 8mm through 19mm handles roughly 90% of the fasteners you will touch.
- Spray penetrating oil the moment you find the car, then wait 10 minutes before turning a wrench.
- Budget 30-60 minutes for an alternator and 45-75 minutes for a complete door with a helper.
What a self-service junkyard trip actually involves
A self-service yard charges $2-$5 at the gate and lets you walk a lot of wrecked cars with your own tools. Whatever you unbolt, you buy at a flat price set by part type. You do the labor, so you pay 30-60% less than a full-service yard that pulls the part for you.
Budget three hours for a first trip built around one part: 30 minutes of calls and inventory checking the night before, 25-40 minutes of driving, 60-90 minutes on the lot, and 10-15 minutes in the checkout line. Nobody out there helps you. There is no lift, no air line, and no loaner socket.
Before you go: inventory, tool policy, weather
Call the yard and confirm your donor vehicle is physically on the lot before you drive anywhere. Most self-service yards publish a searchable inventory that updates daily by year, make, and model, and many list the row number. Cars get crushed after 30 to 90 days, so a listing you saw last month means nothing today.
Confirm the donor is there and still has the part
Ask when the car arrived. Yard staff will not walk out to check the part for you, but the arrival date tells you plenty. A car that landed nine weeks ago has likely lost its alternator, headlights, and radio already. One that arrived Tuesday still has everything.
Widen your search before you settle for one candidate. A part from a different model or model year often bolts straight on, and the Hollander interchange system is how yards track those matches. A VIN lookup catches trim-level differences that photos hide, like a 3.5L versus 2.4L engine or a heated-mirror plug.
Read the tool policy before you pack
Yards vary hard on this and they enforce it at the gate. Almost every self-service lot bans torches, cutting wheels, and gas-powered tools. Most ban floor jacks outright because they pre-lift every vehicle onto wheels, stands, or steel racks. Some ban battery-powered grinders. Call and ask what you cannot bring, then repack rather than surrender a $200 tool to a security shed.
Pick your day and check the forecast
Go on a weekday morning if you can. Weekend crowds mean 20-minute checkout lines and picked-over fresh arrivals. Rain turns a gravel yard into a mud pit. Cold below 40F stiffens grease and makes seized bolts worse, and heat above 95F on an unshaded lot will end your day early. Bring a gallon of water regardless of season.
What the entry fee actually buys
The $2-$5 gate fee buys admission for the day and nothing else. It does not buy the part, it is rarely credited toward your purchase, and it is charged per person, so a helper costs another few dollars. Re-entry the same day is usually free with your wristband.
What to bring to a self-service yard
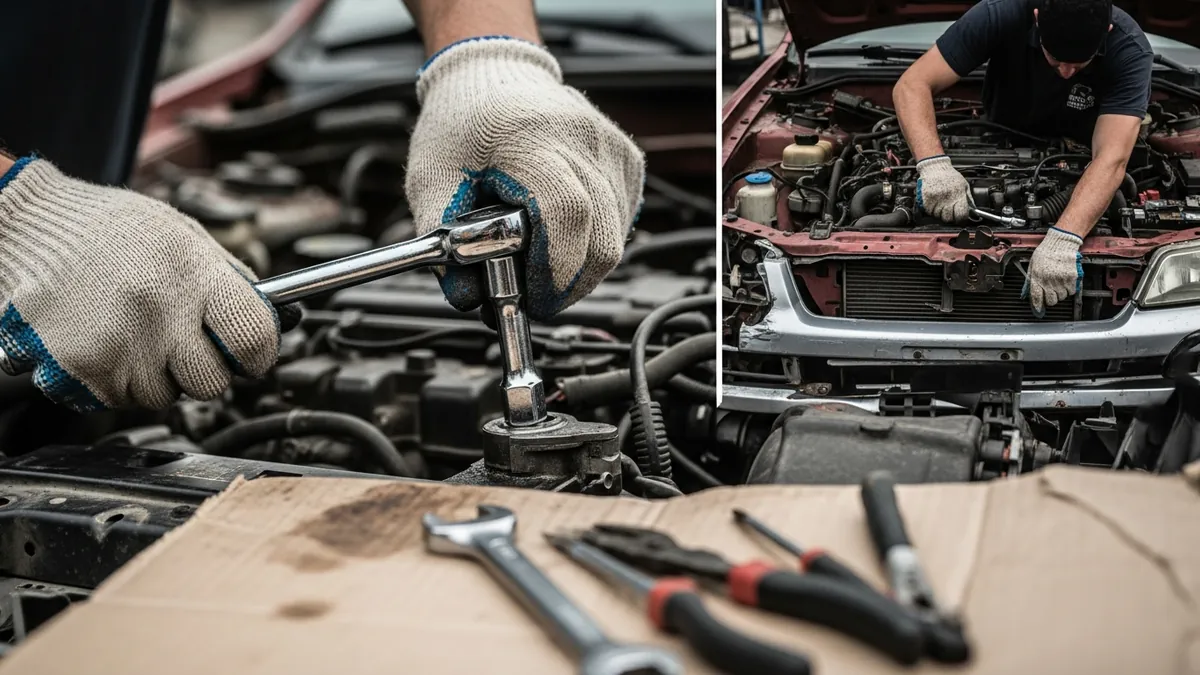
A 1/4" and 3/8" drive socket set covering 8mm through 19mm handles roughly 90% of the fasteners you will touch on a Japanese or domestic car built after 1995.
Core tools
Bring metric sockets in deep and shallow, a 3/8" ratchet plus a long breaker bar, combination wrenches in the same range, a cordless impact gun with a charged spare battery, screwdrivers, pliers, a pry bar, and a dead-blow hammer. Penetrating oil is not optional — carry a full can.
The gear people forget
Cut-resistant gloves, safety glasses, and closed-toe leather boots are the minimum, and the lot is full of broken glass and torn sheet metal. Bring flattened cardboard or a creeper to lie on, a wagon or garden cart to haul parts back to the gate, zip ties, and sandwich bags with a marker for hardware. Label every bag with where the bolts came from. Add a headlamp, a tape measure, and a phone charged to 100% for reference photos. More on part selection sits in our guide to buying used auto parts at salvage yards, and the salvage yard directory lists lots near you with hours.
How yards are organized and how to find your donor
Nearly every self-service yard sorts cars by manufacturer group into numbered rows: domestic in one block, Japanese in another, European and trucks in their own sections. Rows run 20 to 60 cars long, cars sit about 24 inches off the ground on steel stands, and each carries a painted stock number on the windshield.
Get the row number from the yard's online inventory and write it down. Once inside, walk the row from the entrance end and read stock numbers rather than scanning for color and body shape — repaints and swapped panels will fool you. Photograph the stock number as soon as you find your donor. Finding the same car twice in a 900-car lot is miserable.
Donor red flags
Some cars are not worth touching. A vehicle with zero body damage usually landed there because something expensive failed internally, which makes its engine and transmission a gamble. Fire damage means heat-cycled wiring and warped plastic throughout, even in the trunk. A silt line inside the door or a waterline on the seat foam means flood, so every electrical part on that car is suspect. Cut harnesses tell you a previous puller hacked instead of unplugging.
Rust through the floor pans means the underside will fight you on every bolt. A missing VIN plate on the dash is a stolen-vehicle signal — walk away immediately and tell the office.
The pull sequence, step by step
Work this order every time and most pulls go smoothly. The sequence front-loads the penetrating oil and keeps you from discovering a missing tool while you are already under a car.
- Check in and pay the gate fee. Sign the liability waiver, get your wristband, and ask the counter to confirm the row number for your stock number.
- Locate the donor and photograph it. Shoot the stock number, the VIN plate, and a wide shot of the car so you can find it again from the far end of the row.
- Spray penetrating oil immediately. Hit every fastener you intend to remove, then walk away for 10 minutes. Rusted bolts are the number one time-waster at junkyards, and this habit saves more time than any tool you own.
- Disconnect the battery negative terminal. Do this on any pull that touches wiring, the fuel system, or anything near an airbag.
- Photograph the part in place before you touch it. Capture connector routing, bracket orientation, and hose clamp positions. These photos become your reassembly manual at home.
- Inspect the part for damage. Look for cracked housings, corroded pins, and stripped threads, then confirm the interchange match before spending an hour on a part that will not fit.
- Clear the access path. Remove the air intake, splash shield, or trim panel in your way and set those fasteners into a labeled bag.
- Break the fasteners loose in the right order. Crack every bolt loose before fully removing any of them so the part does not bind or drop on you mid-pull. Use the breaker bar for the initial break, the impact gun for the run-out.
- Unplug connectors by their locking tabs. Press the tab, rock the connector, and pull on the plug body rather than the wire. Never cut a harness.
- Support the part before the last bolt. Alternators, starters, and doors get heavy at the worst moment. Get a hand or a strap under the part before the final fastener clears.
- Collect the mounting hardware and brackets. Most yards include hardware still attached to the part for free, and reused OEM bolts beat hardware-store substitutes.
- Cart it to the counter and inspect once more in daylight. Spin pulleys, work latches, and check for cracks you missed under the hood shadow.
How long common parts take to pull
Realistic times for a first-timer with hand tools, assuming the fasteners are not fused solid. Halve them once you have done the same part twice.
| Part | First-timer time | Difficulty | Notes |
|---|---|---|---|
| Alternator | 30-60 min | Easy | Belt tensioner access decides the time |
| Starter | 45-90 min | Moderate | Often blind bolts from underneath |
| Headlight assembly | 15-30 min | Easy | Bumper cover may need to come loose first |
| Door, complete | 45-75 min | Moderate | Two people minimum; a front door weighs 60-90 lb |
| Front seat | 20-40 min | Easy | Four bolts, but side-airbag seats need SRS precautions |
| Radiator | 45-75 min | Moderate | Coolant spill is guaranteed; wear glasses |
| Mirror or window regulator | 20-45 min | Easy | Door card clips break; go slow at the edges |
| Transmission | 3-5 hours | Hard | Two people and a plan; not a first pull |
Safety rules that are not negotiable
Junkyard cars sit on uneven gravel, carry stored energy in their airbag systems, and hold fuel and coolant that nobody drained for you. These five rules cover how people get seriously hurt on a lot.
Lifting and support
Use rated jack stands only. Never work under a vehicle supported by a jack alone, and never trust a car balanced on blocks or a stack of rims. Most yards prohibit jacks entirely and pre-lift every vehicle for exactly this reason. If a car looks unstable on its stands, tell the office and pick a different donor.
Airbags and SRS components
Disconnect the negative battery terminal and wait a minimum of 15 minutes before touching anything in the SRS system. The capacitors hold enough charge to deploy a bag after the battery is gone. Never probe, test, or apply power to a yellow SRS connector. Store any airbag module facing up, never face down on a solid surface — an accidental deployment launches it. OSHA has documented dismantling injuries and sodium azide exposure from unplanned deployments, and the EPA classifies undeployed inflators as reactive and ignitable hazardous waste under RCRA. Many yards ban airbag removal outright.
Hybrid and electric vehicles
Orange cables carry 300-800 volts DC. That is lethal on contact, and it does not care that the car has been dead for six months. High-voltage battery and inverter work is not a DIY job. Leave the orange alone and pull only conventional 12V components.
Fuel system work
Relieve fuel pressure before opening any line, work in open air, and keep the battery disconnected. No flames, no smoking, no grinding sparks near a fuel tank or line. Keep a Class B fire extinguisher within reach. Old fuel turns to varnish and still ignites the same.
Cooling system
Never open a pressurized cooling system while it is hot. Wait at least one hour after any engine has run, and longer on a hot day.
Beating seized and rusted fasteners
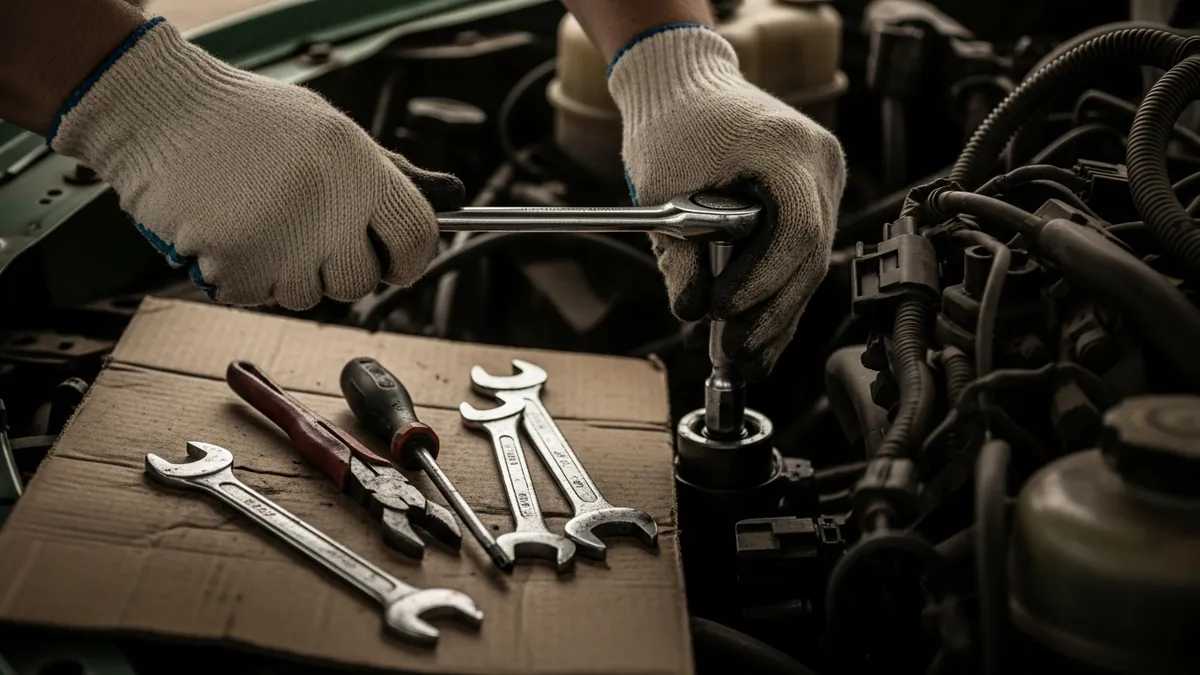
Rusted bolts are the number one time-waster at junkyards, and the fix is a habit rather than a tool. Spray penetrating oil on every target fastener the moment you find the vehicle, then go do something else for 10 minutes while it wicks in.
When a bolt still refuses, work through this order. Reseat the socket fully and switch to a 6-point. Add a breaker bar for slow steady torque rather than jerking a ratchet. Tap the bolt head squarely with a hammer to shock the threads, re-spray, and wait again. Try tightening a quarter turn before backing it out, which often breaks the rust bond. If the head rounds, a bolt extractor socket bites where a standard socket slips.
Know when to quit. If one fastener has eaten 20 minutes, check whether another donor in the row has the same part. Walking 200 feet beats another half hour of fighting.
Checkout, pricing, and core charges
Self-service yards price by part category, not by vehicle. An alternator costs the same whether it came from a Corolla or a Suburban, and the posted price list at the counter is the whole pricing system.
Expect two extras at the register. A core charge of $5-$25 applies to alternators, starters, and similar rebuildable parts, refunded when you bring your old unit back within the yard's window. An environmental fee of roughly 5-10% often lands on the receipt too. Many yards sell a warranty upgrade for 15-25% of the part price that turns a final sale into a 30-day exchange. Worth it on electrical parts, never on trim.
Keep your receipt and photograph it. Without it, no exchange and no core refund. If you are also clearing out a dead vehicle at home, the same yards often buy it — see what a junk car is worth in 2026 or start a sale quote directly.
What to do at home before installing
Clean and test the part before it goes anywhere near your car. Dirt hides the cracks and corrosion that decide whether the repair holds.
Degrease the housing, blow out the connectors, and inspect every pin for green corrosion or a bent contact. Spin bearings and pulleys by hand and listen for grinding. An alternator or starter can be bench-tested free at most chain parts stores in about 10 minutes. Set the old and new parts side by side and match connector count, bracket geometry, and pulley diameter. Replace seals, gaskets, and O-rings with new ones — those cost a few dollars and cause most reinstall failures.
Recycle the part you took off. The EPA calculates that recycling steel saves roughly 75% of the energy needed to make it from virgin ore, alongside 86% less air pollution and 76% less water pollution, which is why end-of-life vehicles get processed rather than buried.
Parts you should never buy used
Some parts are cheap new and dangerous secondhand. Never buy used brake pads or rotors, tires, airbags, timing or serpentine belts, or fuel system components including pumps, injectors, and filters. Wear on these is invisible and failure hits without warning while you are driving. Spend your junkyard budget on body panels, interior pieces, glass, and mirrors instead.
Plan your first trip
Pick one easy part for the first run and treat it as practice. Confirm the donor by phone, pack the socket set and the penetrating oil, and get there when the gate opens. Find yards near you in the junkyard directory, or read the broader guide to finding junkyards near me if you have not settled on a lot yet.