How to Pull a Radiator at a Junkyard: Step-by-Step Guide
A radiator is a straightforward self-service pull once you know where the hidden brackets and transmission cooler lines are. This covers the whole job, from fitment check to pressure test.

Key Takeaways
- Budget 45 to 90 minutes. Fan shroud access and transmission cooler lines decide which end of that range you land on.
- Radiators for automatic transmissions often carry transmission cooler fittings in one tank. Match the transmission, not just the engine.
- Conventional antifreeze contains ethylene glycol, which ATSDR says can cause serious illness or death if swallowed. Catch it in a pan and seal it.
- The AC condenser sits right in front of the radiator. Never open or cut AC lines; federal rules prohibit venting refrigerant.
Pulling a radiator at a self-service junkyard takes about 45 to 90 minutes with hand tools. You drain whatever coolant is left, disconnect the upper and lower hoses, unplug the electric fan, free any transmission cooler lines, unbolt the upper brackets, and lift the radiator straight up without touching the AC condenser in front of it. Then you test it at home before it goes in.
Confirm the donor radiator fits your car
Match engine and transmission before you loosen a single clamp. The same model year can leave the factory with two or three radiators depending on engine size, transmission type, and options such as a towing package or heavy-duty cooling. They can differ in core thickness, hose outlet position, and whether the tank has transmission cooler fittings.
Read the donor VIN and run it through our VIN lookup tool to confirm engine and trim. Then look for a part number molded into the plastic tank or printed on a label on the core. Yards and parts sellers use Hollander numbers to cross radiators between models, and our Hollander interchange guide explains how to read them. If your car has an automatic and the donor radiator has no cooler fittings, it is the wrong radiator even if the hoses line up.
What tools do you need to pull a radiator?
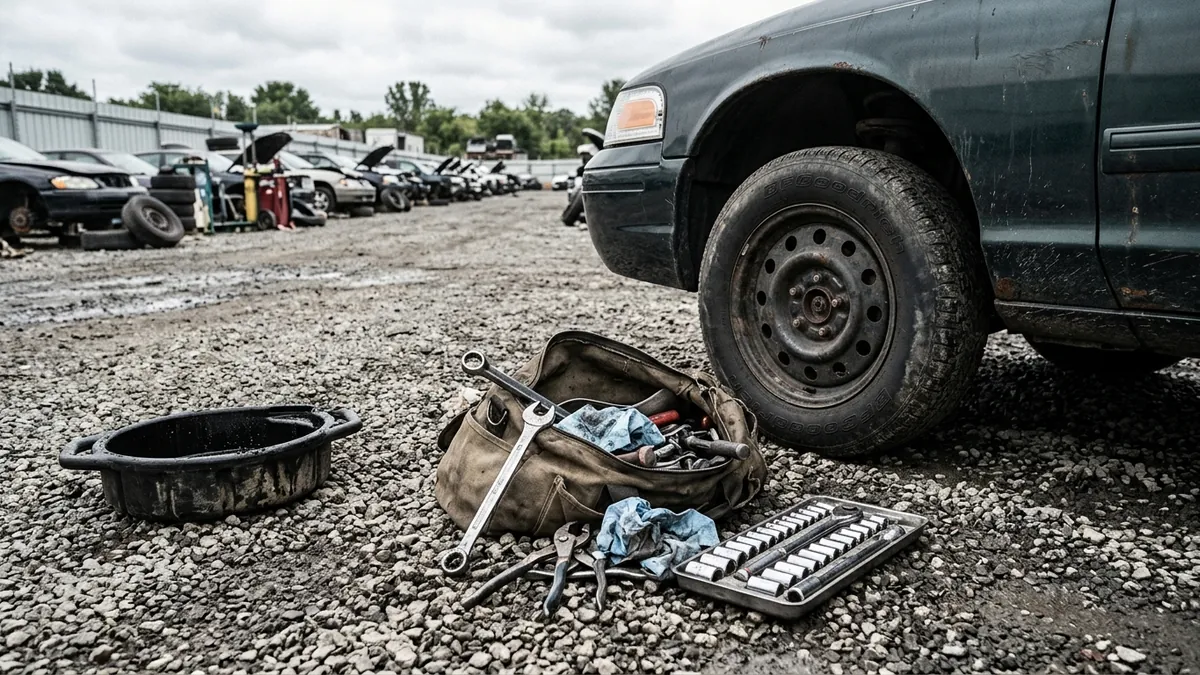
A radiator job needs fewer tools than most engine-bay pulls, but two of them are specific to the cooling system: hose clamp pliers and a flare-nut wrench. Self-service yards generally allow hand and battery-powered tools only. Carolina Pick-N-Pull, for example, bans jacks, jack stands, grinders, generators, cutting torches, and gas-powered tools in its yard, and other chains post similar lists, so check your yard's rules before you pack.
| Tool | What it does on this job |
|---|---|
| Metric socket set with extensions | Upper radiator brackets, fan shroud bolts, condenser-to-radiator bolts |
| Hose clamp pliers | Squeezes spring clamps that regular pliers slip off |
| Flat screwdriver or nut driver | Worm-drive hose clamps and the drain petcock |
| Flare-nut (line) wrenches | Transmission cooler line fittings without rounding them |
| Trim clip tool | Plastic push pins on the radiator cover and air deflectors |
| Drain pan and a sealable jug | Catches leftover coolant so it does not end up on the ground |
| Vacuum caps or plugs | Seals the cooler fittings and hose necks for the ride home |
| Nitrile gloves, work gloves, safety glasses | Coolant contact, sharp fins, and drips when hoses let go |
| Cardboard sheet | Protects the fins while you carry and transport the radiator |
For the rest of a general yard kit, see our list of 10 tools you need for a salvage yard run.
Safety notes before you open the cooling system
The two hazards on a radiator pull are leftover coolant and the AC system sitting inches in front of you. Neither is hard to handle, as long as you plan for it before the first clamp comes off.
- Treat coolant as a poison. ATSDR's ethylene glycol fact sheet says swallowing larger amounts can cause serious illness or death, and that the liquid's sweet taste and bright color are part of why accidental ingestion happens. It also advises minimizing skin contact and not draining antifreeze onto the ground. Wear nitrile gloves and catch every drop you can.
- Wear eye and hand protection. OSHA's hand and power tools guidance calls for appropriate personal protective equipment such as safety goggles and gloves. Radiator fins and condenser edges cut skin, and a hose that lets go can spray coolant toward your face.
- Leave the AC lines alone. EPA states that intentionally venting refrigerant while servicing or disposing of a vehicle AC system is prohibited. If the condenser is bolted to the radiator, unbolt it and let it hang on its lines. Do not cut, unscrew, or kink a refrigerant line to make room.
- If the car still has a battery, pull the negative cable before you unplug the electric fan. That way nothing on the fan circuit can energize while your hands are near the blades.
- Stay out from under the car. Self-service yards set cars on stands and generally ban customer jacks, so if you can't reach a lower bolt from the top or from beside the car, pick a different donor.
How to remove a radiator at a junkyard, step by step
Work in this order. People tend to rush the coolant drain and the condenser, and both come back to bite them later.
- Confirm fitment. Check the engine and transmission against your car, find the tank part number, and note whether the tank has transmission cooler fittings.
- Disconnect the negative battery cable if the donor still has a battery, and tuck it away from the post.
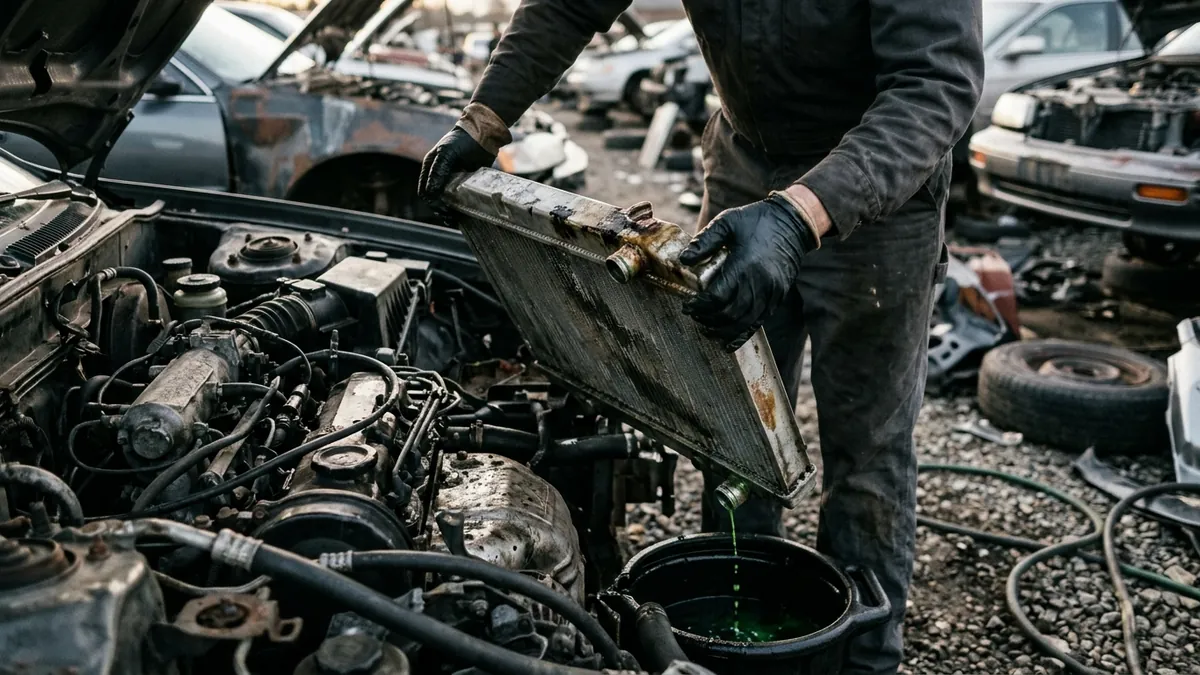
- Drain the remaining coolant. Set the pan under the lower corner of the radiator and open the plastic drain petcock a few turns. If it is seized or missing, squeeze the lower hose clamp, slide it back, and twist the lower hose off over the pan. Pour what you catch into your jug and cap it.
- Remove the radiator cover and air deflectors. Many cars have a plastic panel over the core support held by push pins. Pop them with the trim tool and set them aside.
- Disconnect the upper hose and overflow hose. Slide each clamp back, then twist the hose to break the seal before pulling. Do not pry against the plastic hose neck; old plastic tank necks crack under side load.
- Unplug and remove the fan assembly if required. Press the locking tab on the fan connector and unplug it. On many cars the fan and shroud bolt to the radiator and lift out together; on others the shroud has to come out first. Check before you unbolt the radiator.
- Free the transmission cooler lines on automatic cars. Hold the radiator fitting with one wrench and turn the line nut with a flare-nut wrench. Some cars use quick-connect fittings with a release clip instead. Expect transmission fluid to drip, and cap both the lines and the radiator fittings.
- Separate the AC condenser. If the condenser bolts to the radiator, remove those bolts and leave the condenser hanging on its lines. Its lines stay connected the whole time.
- Remove the upper brackets. Most radiators sit on rubber isolators at the bottom and are held by two upper brackets. Remove the bracket bolts and keep the rubber isolators.
- Lift the radiator straight up. Keep it vertical, clear the fan and condenser, and slide cardboard over the core. Collect the cap, clamps, brackets, isolators, and bolts.
On some cars, especially those with a full-width bumper cover and a bolted upper core support, the radiator has to come out the front or the support has to be unbolted first. If that is your car, budget extra time and consider whether a different donor would be easier.
How long does a radiator pull take, and where do people go wrong?
The table below shows typical time per step for a first attempt and the mistake that costs the most at each one.
| Step | Time | Common mistake |
|---|---|---|
| Confirm fitment | 5 min | Matching engine size and ignoring the transmission |
| Drain coolant | 5-10 min | Skipping it and soaking yourself when the lower hose comes off |
| Remove covers and hoses | 10-15 min | Prying on a plastic hose neck and cracking the tank |
| Fan and shroud | 5-20 min | Breaking the fan connector's locking tab |
| Transmission cooler lines | 5-15 min | Using an open-end wrench and rounding the line nut |
| Separate condenser | 5 min | Kinking or loosening an AC line to make room |
| Brackets and lift out | 5-10 min | Tilting the core and crushing the fins on the condenser |
How to test a used radiator before you install it
Inspect the radiator at the car, then pressure test it at home. A radiator that leaks after install means draining and refilling your cooling system twice, so the test is worth the half hour.
Start with the tank seams. Most modern radiators use plastic tanks crimped to an aluminum core, and a slow leak shows up along the crimp as hairline cracks or white, green, or orange crust. Then shine a flashlight into the filler neck or upper outlet. Brown sludge or an oily film means the donor had a contamination problem, and that residue will end up in your engine.
A few bent fins can be straightened; large crushed sections cost you cooling. Check the cooler fitting threads and hose necks for cracks while you're at it.
The pressure test is the one that matters. Plug the outlets, attach a cooling system pressure tester with the correct radiator adapter, and pump it to the pressure rating marked on the radiator cap. If the gauge drops, or soapy water brushed on a seam starts to bubble, it leaks. Don't own a tester? Several parts chains run loaner tool programs, so ask your local store.
Before install, rinse the core with clean water until it runs clear, and flush the transmission cooler passage if your car uses one.
For tests on other used auto parts you might grab on the same trip, see how to test used parts before installing them.
How to find a donor car near you
Start with salvage yards that post their inventory online, so you know a matching model is on the lot before you drive. Search our directory for a U-pull yard near you by state and city, or open a state page such as Texas or California to see every listed yard there. If this is your first time working on a self-service lot, read how to pull your own parts at a junkyard for the check-in process, yard rules, and what to bring. Admission is low at most chains; Pull-A-Part lists standard admission at $2 as of October 2026, and fees vary by location, so confirm before you go. Pull-A-Part also requires visitors to be at least 16 and to sign a waiver.
Pack the drain pan and jug before anything else. They're the items people forget, and forgetting them is how a radiator job ends with coolant on your shoes.
Sources
- ATSDR (CDC): Ethylene Glycol ToxFAQs (accessed October 2026)
- OSHA: Hand and Power Tools (OSHA 3080) (accessed October 2026)
- US EPA: Regulatory Requirements for MVAC System Servicing (accessed October 2026)
- Carolina Pick-N-Pull: How It Works (accessed October 2026)
- Pull-A-Part: Frequently Asked Questions (accessed October 2026)